To create a line you must 1st select the second icon on the tab as shown to the left, after creating half of your shape go to modify and find lathe, after clicking it you shall get a completed 3D shape as shown below as well.


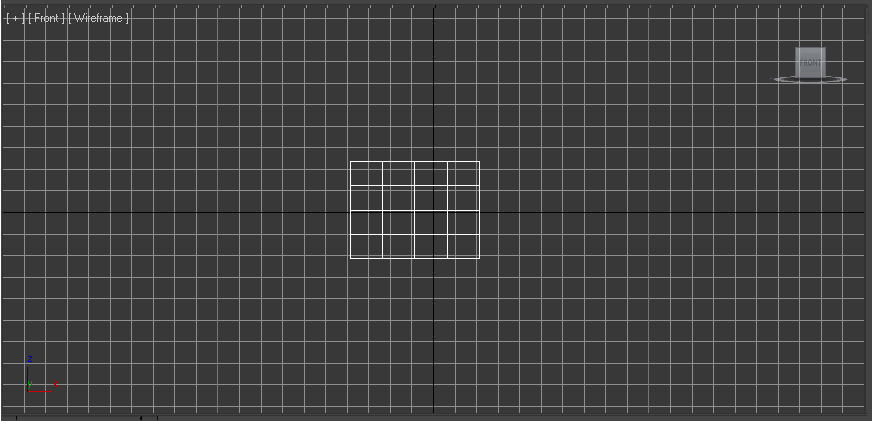
Now lets make a table, after creating your shape from line and lathe, multiply it by holding down the 'SHIFT' key and using the postioning tool 'pull out' a copied object, after this select both by holding 'Ctrl' and selecting both table legs then hold SHIFT pull out 2 more table legs to complete the set.

 Now make a box and place it above the legs, copy this box and move it above its self, now shrink its length and width but it crease its thickness/height. now copy this one as well and move it to the side, now move the box hovering over the table into the table itself you can move it so that it goes all the way through or partially. after this select the table, just the table not its legs. now as shown below select 'Compound Objects' and select 'Boolean'. still got the table selected? Yes good now click 'Pick Operand B' then select the box that is within the table and it should dissapear leaving a gap in the table where it was postioned.
now move the box we made earlier into that space and add wood and a glassy texture to the shapes.

Now lets add light, on the creating tab select the lamp icon then go to standard select Omni and on the 'General Parameters' box tick the 'On' box this will allow shadows to bee seen on a rendered image. now just postion your light and 'Bobs your Uncle' your done.